Create an Application
What is an Application?
In IndieCloud, an application is a single instance of a software that you can deploy and manage. It can be a "custom" application that you build yourself, a "managed" application (like Keycloak) or a database (like Postgresql) that you can deploy with just a few clicks.
Create an Application
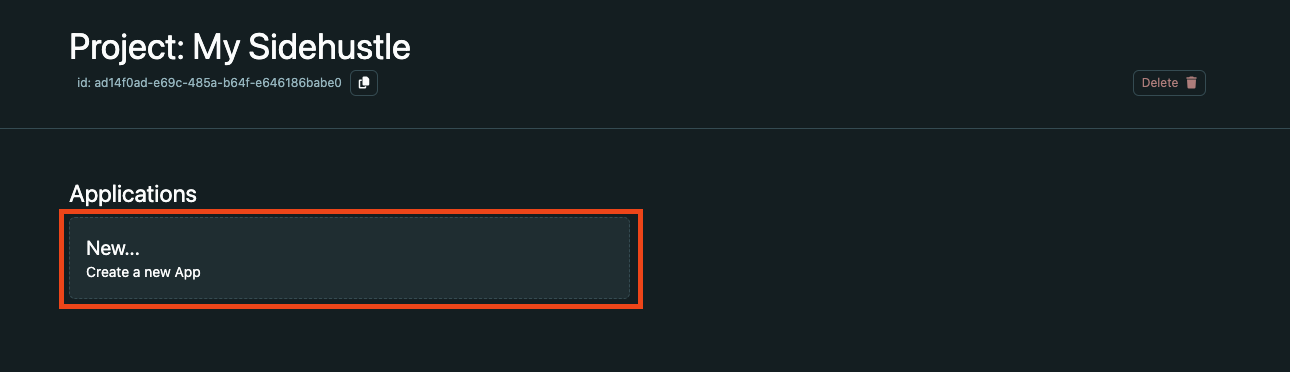
Similar to creating a project, you can create a new application by selecting the "New..."-Tile on the Project-Overview page or by clicking the Application-Selector next to the Project-Selector at the top and then select "New App".
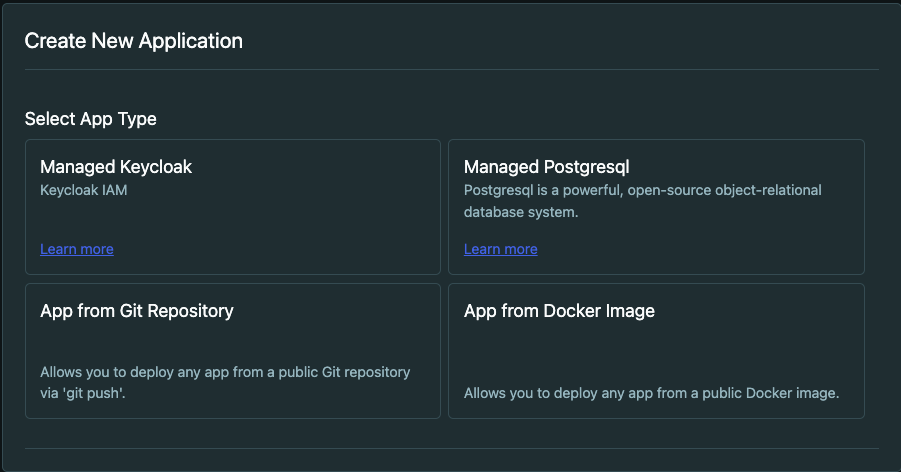
First, you need to select the type of application you want to create. You can choose between a range of managed applications (like Keycloak, Postgresql, etc.), or a custom application (it does not matter if its a frontend or backend application).
Note: Some managed applications that require a database (like Keycloak) will automatically get a database created.
Then you can enter the name of your application and an optional description. Depending on the type of application, you will have a slightly different flow.
Connect a Git-Repository
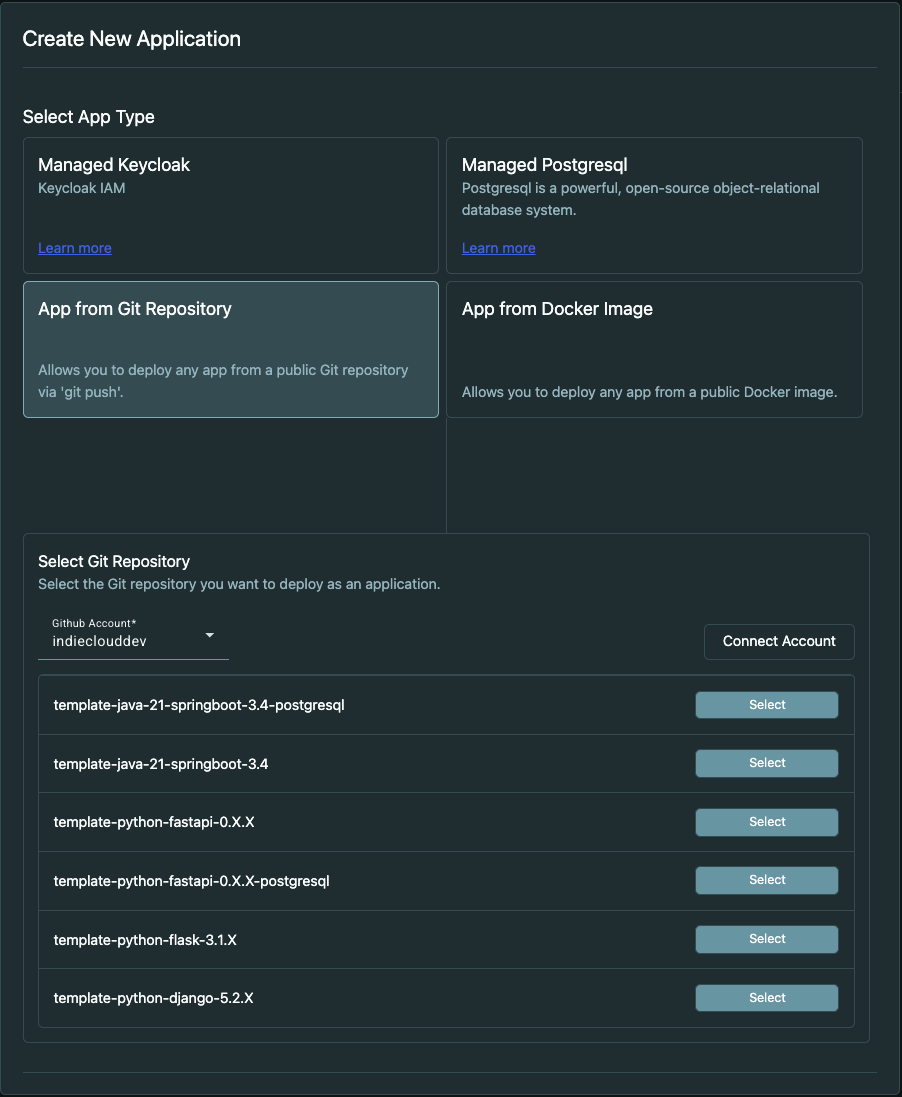
If you choose to host a custom application from your Github repository, you need to connect your Github account to IndieCloud using the "Connect Account"-Button. After that, you can select one of your repositories from the list.
Configure Build and Start Commands
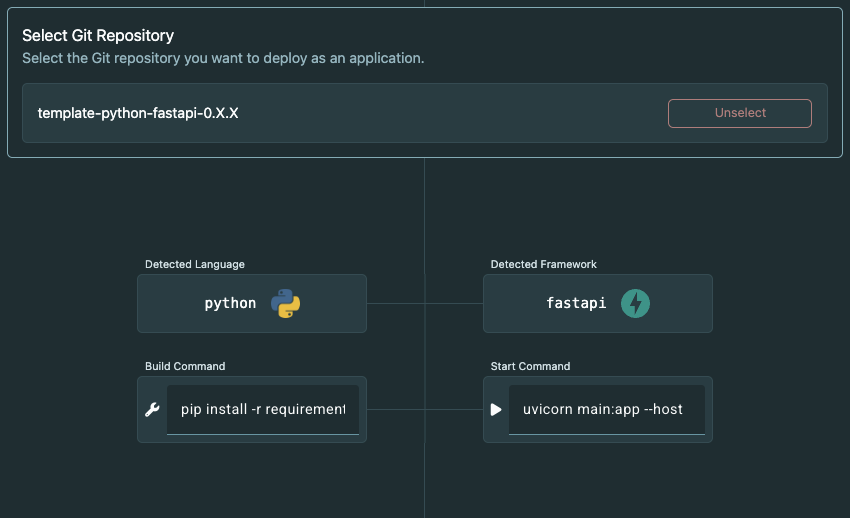
After selecting your repository, IndieCloud will automatically try to detect the framework you are using and suggest build and start commands. You can change these commands if necessary.
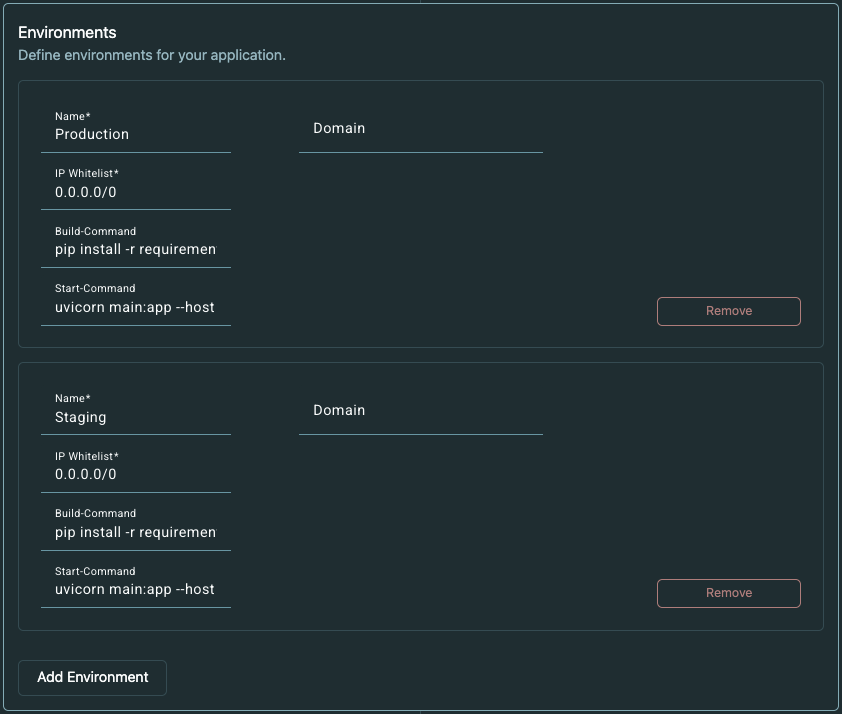
Configure Environments
You can configure different environments (like Development, Staging, Production) by clicking on "Add Environment" and adjust the build and start commands for each environment.
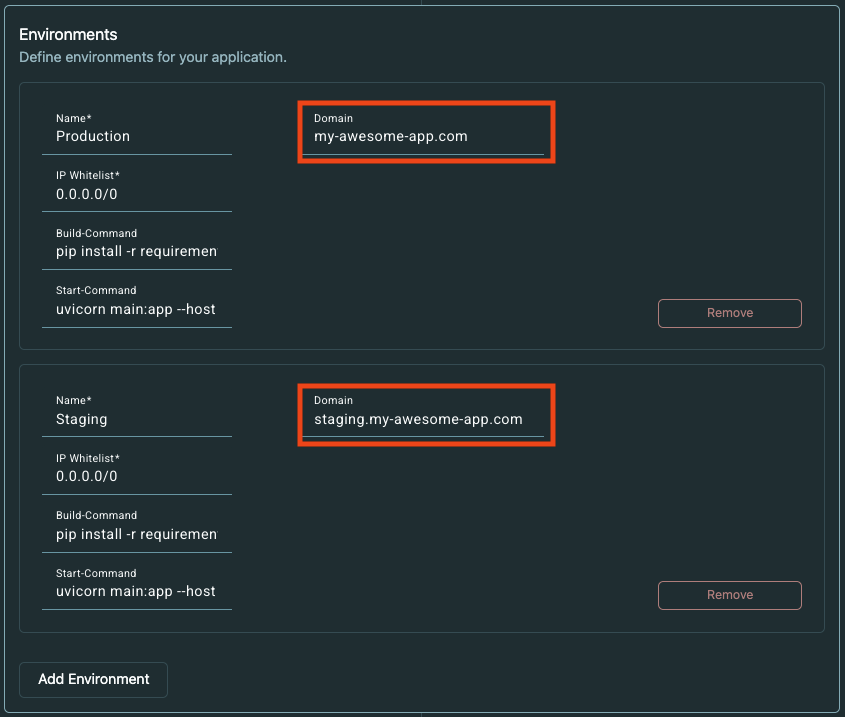
Custom Domains
If you want your application to be accessible via a custom domain (like my-awesome-domain.com), you can set it for each environment in the "Domains"-Input.
Note: You will need to configure your DNS settings to point to IndieCloud's servers. You can find more information about this in the Custom Domains Documentation.
Hit it!
Finally, you can create your application by clicking the "Create"-Button. Now, IndieCloud will start the build and deployment pipeline for your application. Although we try to make this process as fast as possible, it might take a few minutes for the first deployment.
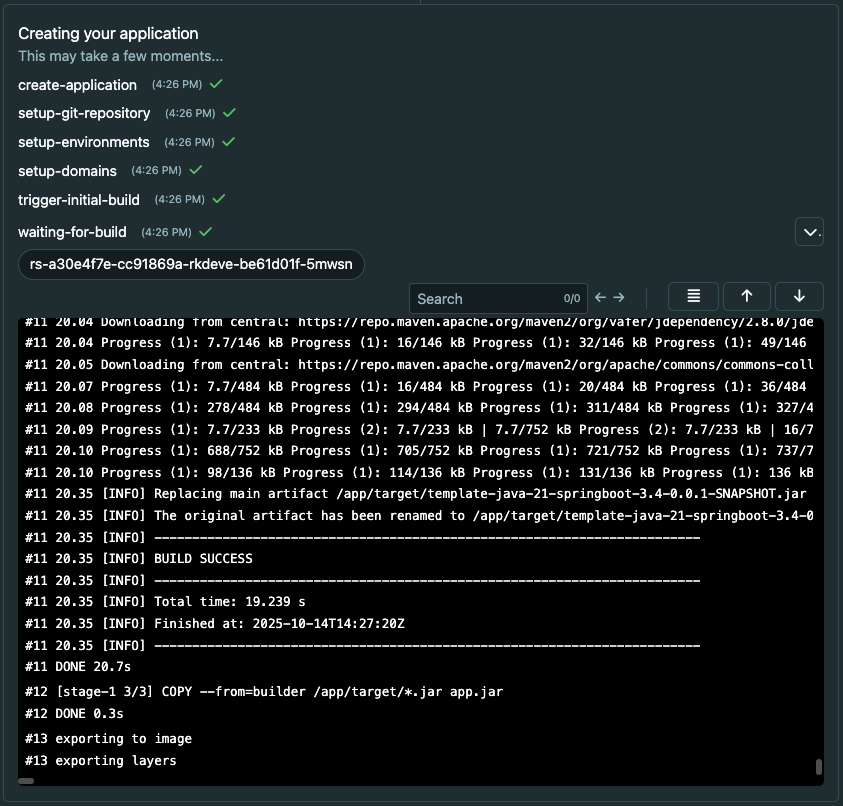
Build Logs
After creating all the necessary resources, IndieCloud will start the build process.
Starting the Application
Once the build is successful, IndieCloud will start your application.

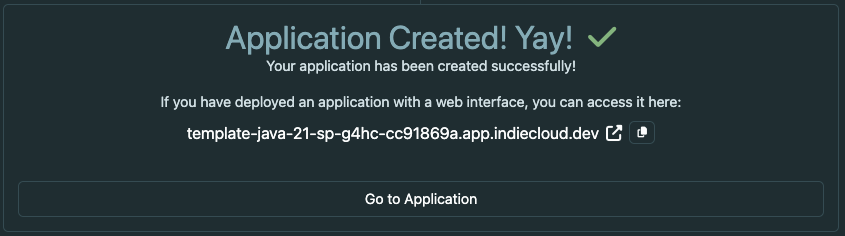
Application deployed
With a little luck and if we haven't messed up anything on our side, your application should now be successfully deployed and accessible via the provided URL.
Testing the Endpoint
If you used one of our templates, you will get a 404 Not Found error, because there is no content on the root path. Append "/hello" as this is the default endpoint for this template.

Troubleshooting
We are still in an early stage of development, so if something goes wrong, you can either try to "turn it off and on again" (just try again). For anything else, please message us in our Discord Server and we will help you as soon as possible.
Next Steps
Thats it! You have successfully created and deployed your first application on IndieCloud. You can now manage your application, view logs, and configure settings from the Application Overview.